Showing posts with label science. Show all posts

Wednesday, June 13, 2012

Sensory bin: soap flakes Oh, yes.

Pin It
I've seen this all over the internet: put a bar of Ivory soap (it must be Ivory*!) into the microwave and it bubbles into a fantastic mountain of soap.

I am here to tell you that it is all true: the soap does bubble into a fantastic mountain, the mountain comes out dry, and it is all terribly fun to watch.  Plus, the clean-up is minimal.


You start with a bar of Ivory soap.

I love the smell of Ivory soap. Since it floats, it is the soap we used in the lake.  To me, it smells like part of summer.  I thought I'd let my child experience one of the smells of my childhood summer.
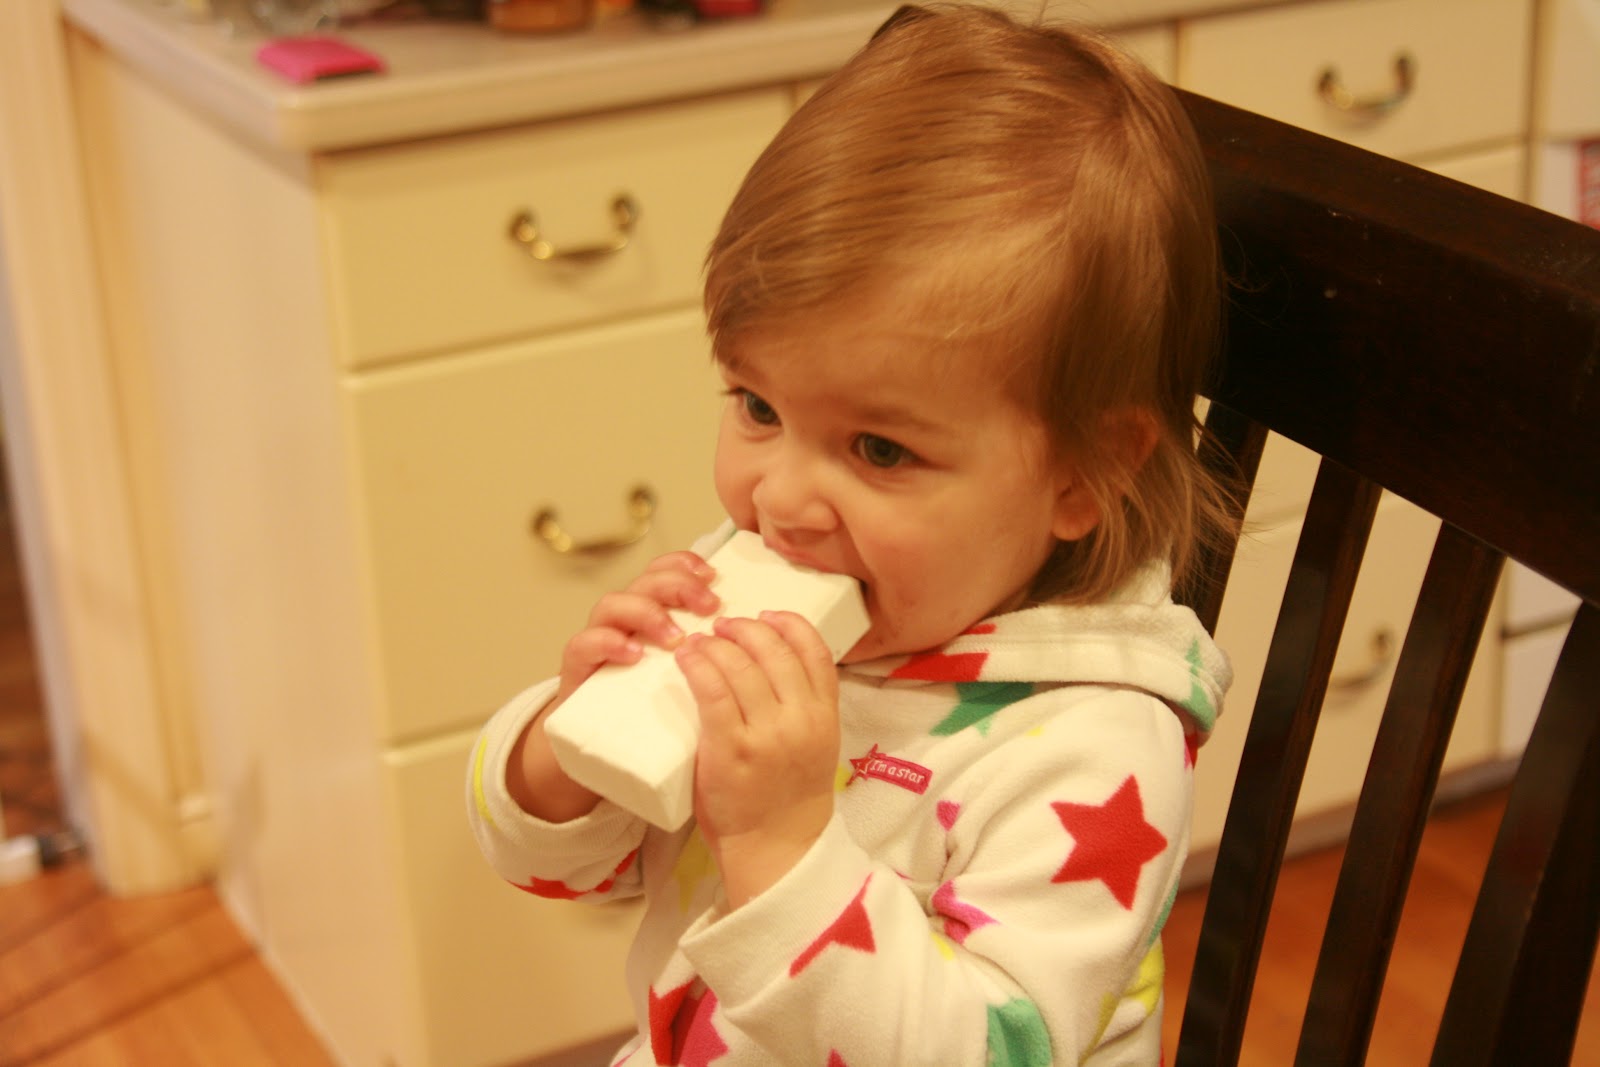
I could have stopped her, but I knew this wouldn't go far.
Actions and consequences lesson in 3... 2...1...

There it is.

She's just discovered this week that she can use her teeth this way.
I'm so proud!

After your kid is done making observations about the bar of soap, set the microwave timer for 2-3 minutes.  This small bar took about 2 minutes with frequent stopping.
A great question to ask here is "What do you predict will happen to the bar of soap if we heat it in the microwave?"

For about 20 seconds, the answer is nothing.

Then...


Kablam!  Soap cloud!  Let the kids oooh and ahh over it while it gets gigantic.  Then stop the microwave and ask them how they think it will feel.  (It looks like it should feel like bubble bath.  V. called it "bubbles" the whole time we were doing this.)


 Guess what?!  It is dry!  And fluffy!  And brittle!

I pulled the "cloud" off the chunk of soap every time it filled the microwave.  I put the cloud into a bowl, and kept microwaving the chunk.  (Careful!  The chunk will be hot.)

It took about 2 minutes on the timer, and with all the stopping and playing, about 6 minutes.

Then we played with the cloud.

Guess what, Mom?  It tastes the same.

Make more observations.  Then make soap flakes.


It is so much fun to crunch up!


Now I have a bar's worth of soap flakes.  I'm going to put it in a bin tomorrow and add some water.  Once she has her fun, I'll make homemade handsoap.  (And if that works, I'm going to try it with Dr. Bronner's Fancypants Soap next!)


*Ivory soap is whipped with air.  That is why it floats.  It is also why it "bubbles" out - the air pockets inside get hot and expand.  If you are doing this with kids old enough to compare and contrast, try other air-filled, porous things, like marshmallows or Peeps!

Thursday, March 8, 2012

Fancy seed-starting kit it is not...

Pin It ... but it won't cost you $20 and will work just as well.


When I heard that indoor plants were part of the third grade curriculum where I used to teach, my heart stopped.  My coworkers had no way of knowing that I was a plant murderer, but surely by the end of this unit, they would.  As my friend tried to reassure me that the set-up was fool-proof, I was picturing my sweet, eager students with tears running down their faces, mourning their dead plants.

But my friend was right: unless you forgot to water them for a month, they weren't going to die.  And not just because they were brassica weeds, but because they came with a way of keeping the soil moist constantly, as delicate seedlings require.

After V. and I had spent all morning crushing organic material and folding it into our coconut fiber to make the perfect seedling soil, I decided I would construct some of these handy little contraptions.  Maybe this time, for the first time, my seedlings will survive long enough to make it to the garden.

Here is what you will need:
a plastic container with a lid (you will be cutting the lid) - take-out containers are sturdy and free
a piece of felt that is one-and-a-half times longer than your container (roughly)
scissors
a knife
Plants (can be in *plastic or fiber containers or cells)
First, cut a slit in the top of the container wide enough to fit the felt through.  I used the knive to pierce the plastic, then cut with the scissors.


 Second, saturate your felt by pouring water into the container.  Thread enough of the wet felt through the slit in the top to cover the entire top.  There should still be felt in the water in the container.  I inverted my tops, to keep the water from dripping down the sides.  It is in no way necessary to invert the top.
Last, arrange your pots so that they touch the felt.  In about an hour, the whole pot should be moist.  (See note below about plastic containers, if used.)


 Now, all you need to do is place them in a warm, sunny spot and make sure the base doesn't run out of water.  If the felt is dry, pour water over it and into the container.


*IF YOU USE PLASTIC CONTAINERS: cut a small strip of felt (about 1 inch long and 1/4 inch wide) per cell (if using connected cells) or individual container (like the above paper ones) and thread through the drainage hole in the bottom of the container.  The strip of felt must be able to touch the soil in the bottom of the container and the large piece of felt.  If there isn't a drainage hole, cut one.  It is easiest to do this before you fill the container with soil and seeds.

Wednesday, October 5, 2011

Jars!

Pin It


Although I make most of V's food, we keep some jars of baby food around, just in case we need them.  They are fantastic for dividing big meals into tiny little baby portions until your Cookie Monster starts eating through two or three jars a meal.  Then they just sit on the shelf.

There are a great many things you can do with these tiny, nearly indestructable jars.  You can make candles in them.  You can use them for little vases, or create snow globes with a picture of your kid inside.

Or you can make musical instruments!


It is quite simple.  Wash the jars out thoroughly.  I used the size 2 jars because they are big enough to hold some pretty cool things, but my peanut was having a difficult time wielding the size 3 jars when they were filled with stuff.  To get the label goop off, soak them or use some Goo Gone.  (Every mom should have some Goo Gone and some Oxy Clean Laundry Spray around the house.  They take care of everything.)  Once you have sparkly clean jars, put some objects inside and test out the sound.  When you get it right, superglue the lid into place.  Let dry for a few hours, and have fun!

So what did we put into our jars?

5 pennies
black and white dried beans
dried hydrangeas (I used a smaller jar so that they would fill up the entire space)
water (about 1/2 full - you can add color or glitter for more fun!)
a stick, broken up
cotton balls
plastic bottle caps
the punches from hole-punched paper
large dried beans
wing nuts
watered down dish soap (it bubbles so nicely!)

Look for different sounds.  You can also vary the sound by adding different amounts of the same material to jars.  Right now, the most popular is the pennies (they do make a fun, very loud sound)  and the hydrangeas.

The jars are fun to stack and roll around, but we also use them as musical instruments.  The flowers and stick came from a nature walk we did barefoot around our yard today.

Get creative.  And consider using only things that won't mold after a while, as that could be really, really gross.